zsh配置
在 MacOS 上,iTerm2 + Oh-My-Zsh 是高效生产力工具组合,其终端命令行提示功能极其便携,尤其是 zsh-autosuggestions 命令行自动填充功能等插件。
那么在 Windows 系统中是否可以配置 Zsh 终端并安装其插件呢?
当然可以!
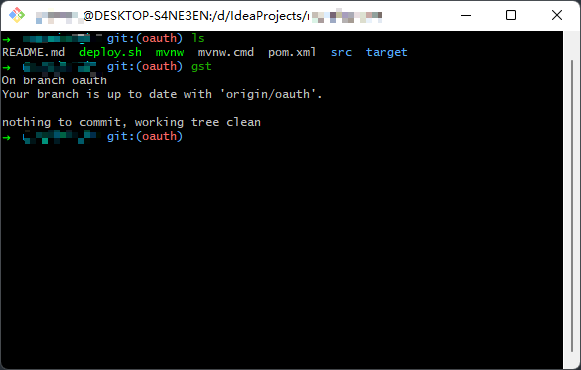
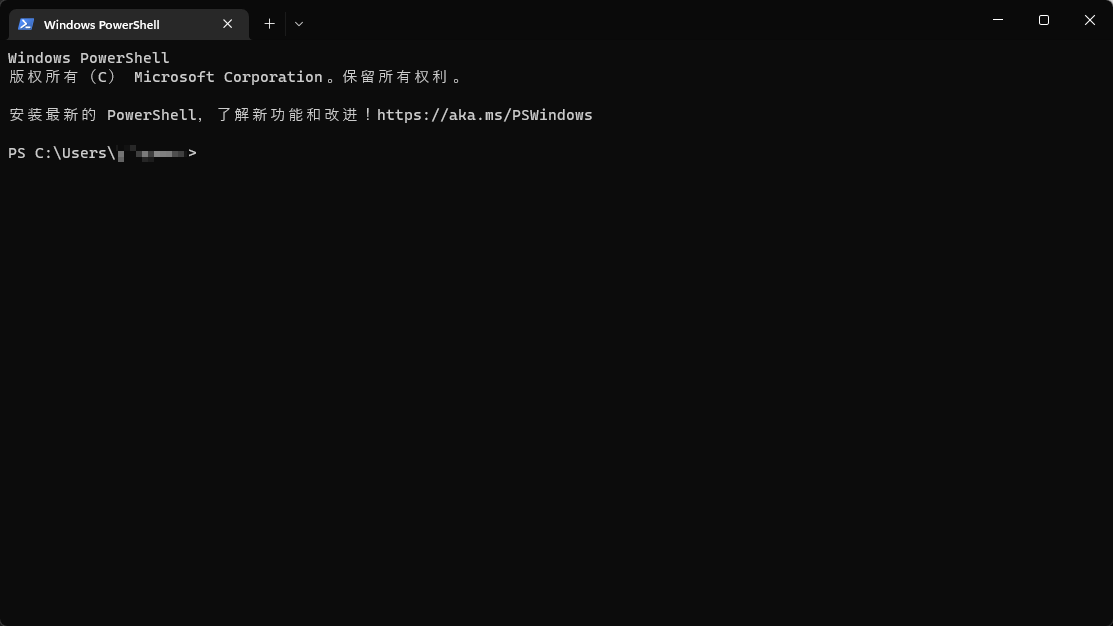
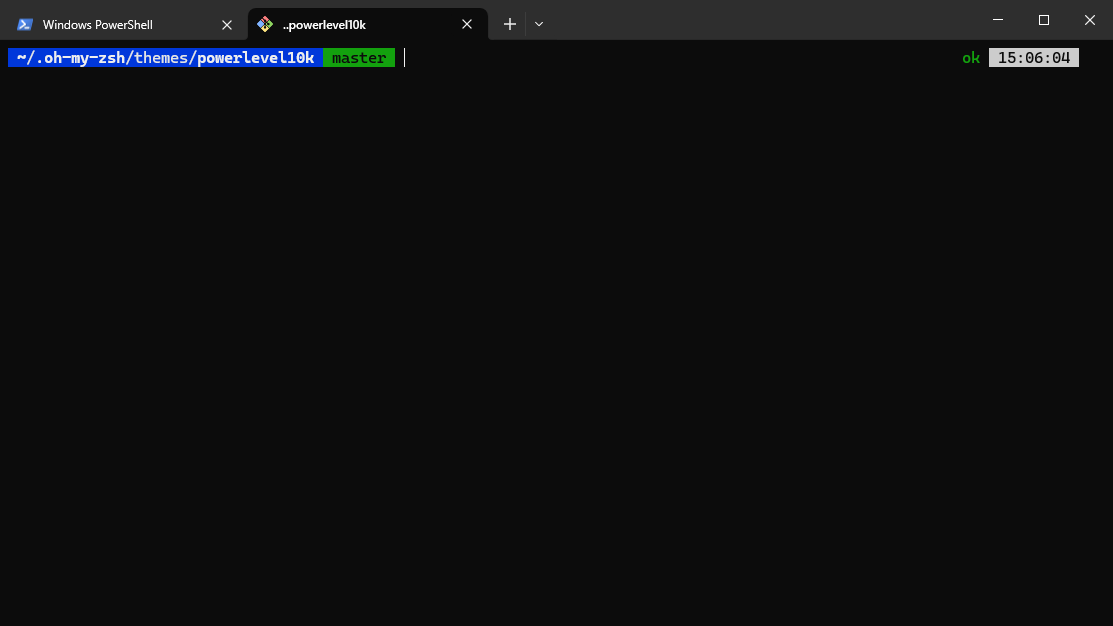
我们先看最终的效果:
要达成此目的,有两种实现方案:
- WSL + ohmyzsh
- Git Bash + zsh
相比于这两种方案而言:
- 第一种方案 WSL 直接安装 Linux 子系统,优点是支持 Linux 生态;缺点是开发时一般在主机系统,而 Linux 子系统和主机系统之间的通过网络共享文件,相对不便。
- 第二种方案 Git Bash 优点是不用切入 Linux 子系统可直接使用 Zsh,方便;缺点则是不完全支持 Linux 命令。
那么我们选择哪种方案呢?
小孩子才做选择,大人则全都要!
WSL 提供 Linux 生态,搭建一些服务之类的;而 Git Bash + zsh 则用于日常开发,完全不冲突!Perfect ~!
就本文而言,我们先配置 Git Bash + zsh 的方案,其他方案,且听下回分解。
安装 Git Bash
从官网下载 Git for Windows ,其包含 Git Bash、Git GUI、Shell Integration 三个部分,安装完成后, bash shell 和 git 都有了,这也是我选择它的原因。
安装过程也很简单,唯一需要注意的就是,要把如下图所示的两个选项勾选上,其他默认即可,依次下一步。
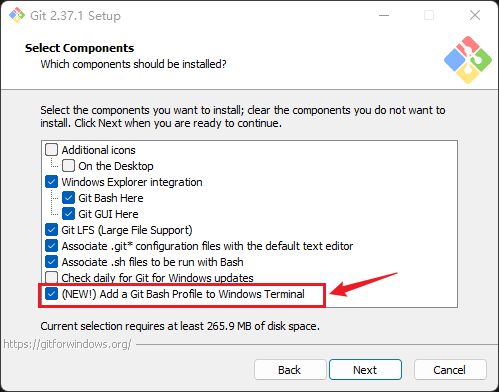
安装完成后,打开 Git Bash,即可使用大部分常用的 bash 命令。
安装配置 Zsh
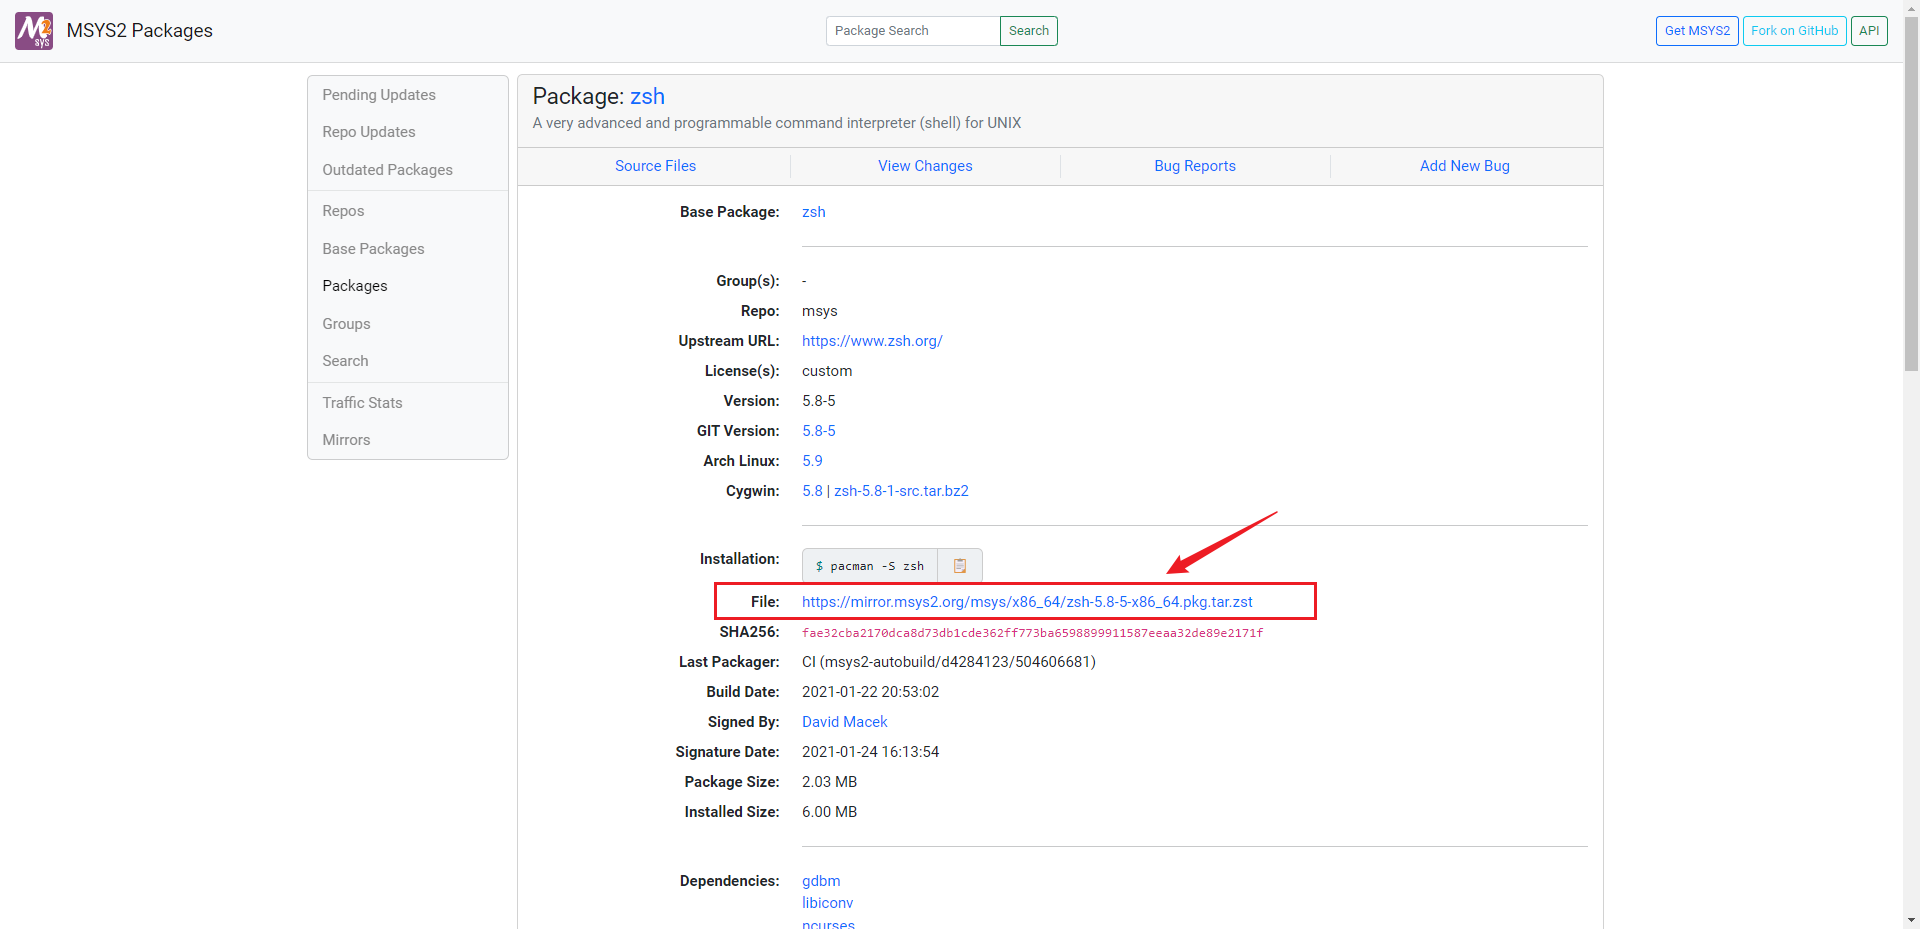
- 进入 MSYS2 Packages ,点击下载 zsh 压缩包:
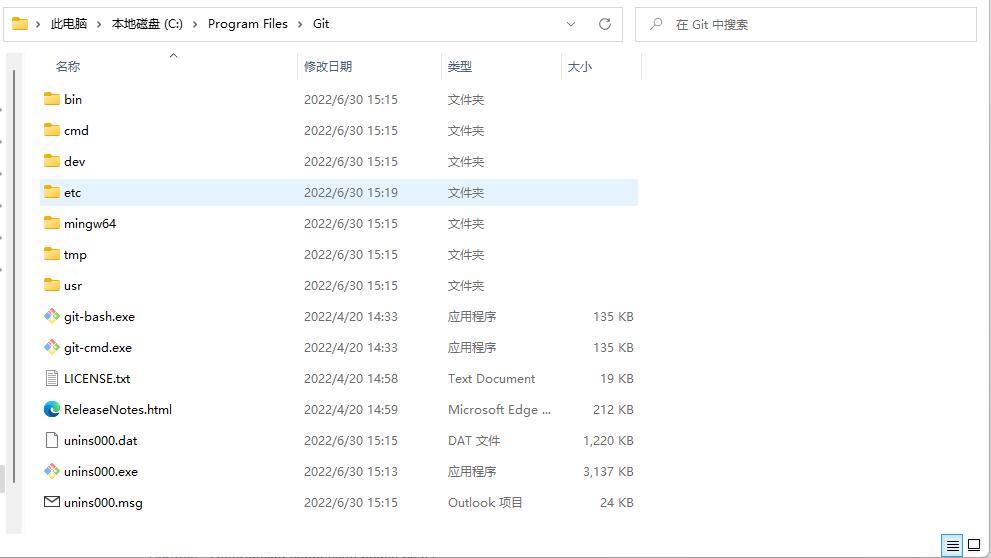
- 使用 7zip 解压,复制 etc、usr 两个文件夹到 Git 安装目录中,如图:
- 打开 Git Bash,执行命令
zsh,出现如下图所示,即表示 zsh 安装成功
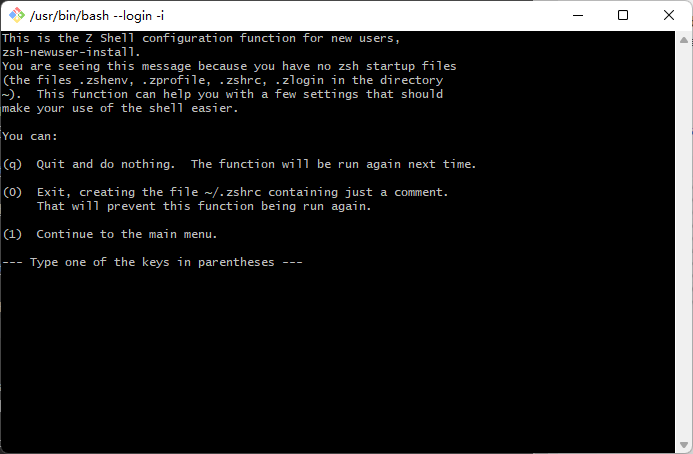
重要!
根据向导对 zsh 进行初始化配置,主要是 tab 补全和命令历史配置。若是因为某个原因,不小心关闭或跳过了配置向导且不再出现了,可以使用如下命令再次打开配置向导:
1
2
autoload -U zsh-newuser-install
zsh-newuser-install -f配置 zsh 为 Git Bash 的默认 shell 。在
1
~/.bashrc
(用户主目录)中添加如下内容:
1
2
3
4
# Enable zsh
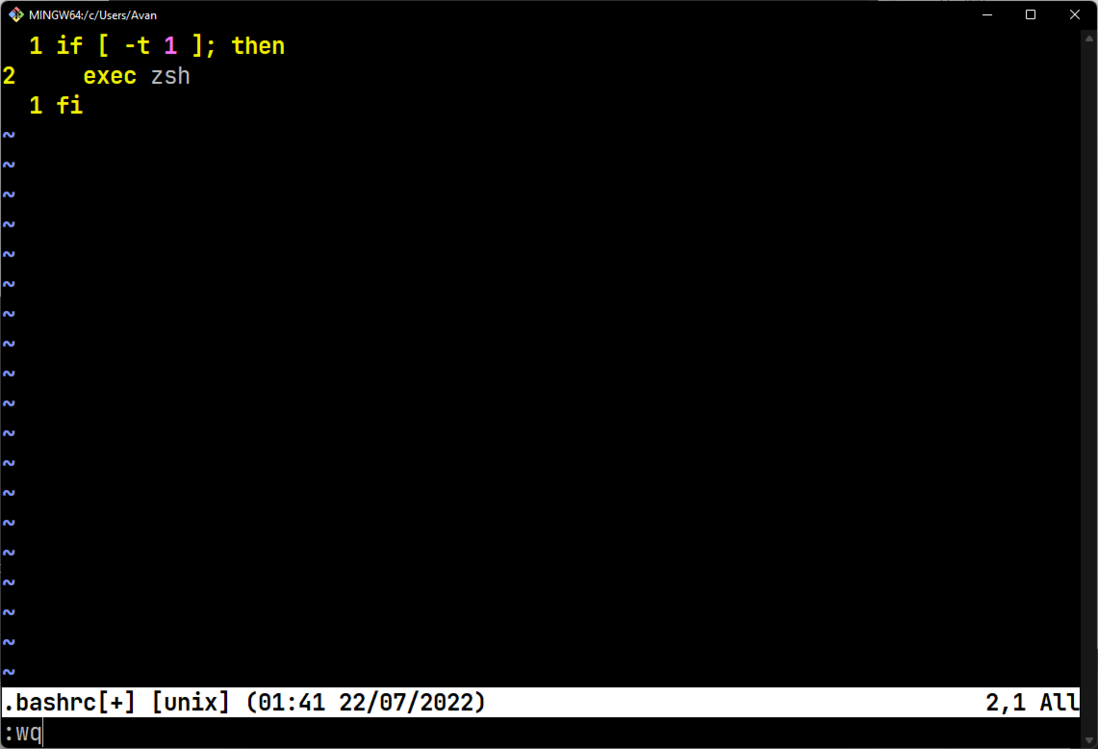
if [ -t 1 ]; then
exec zsh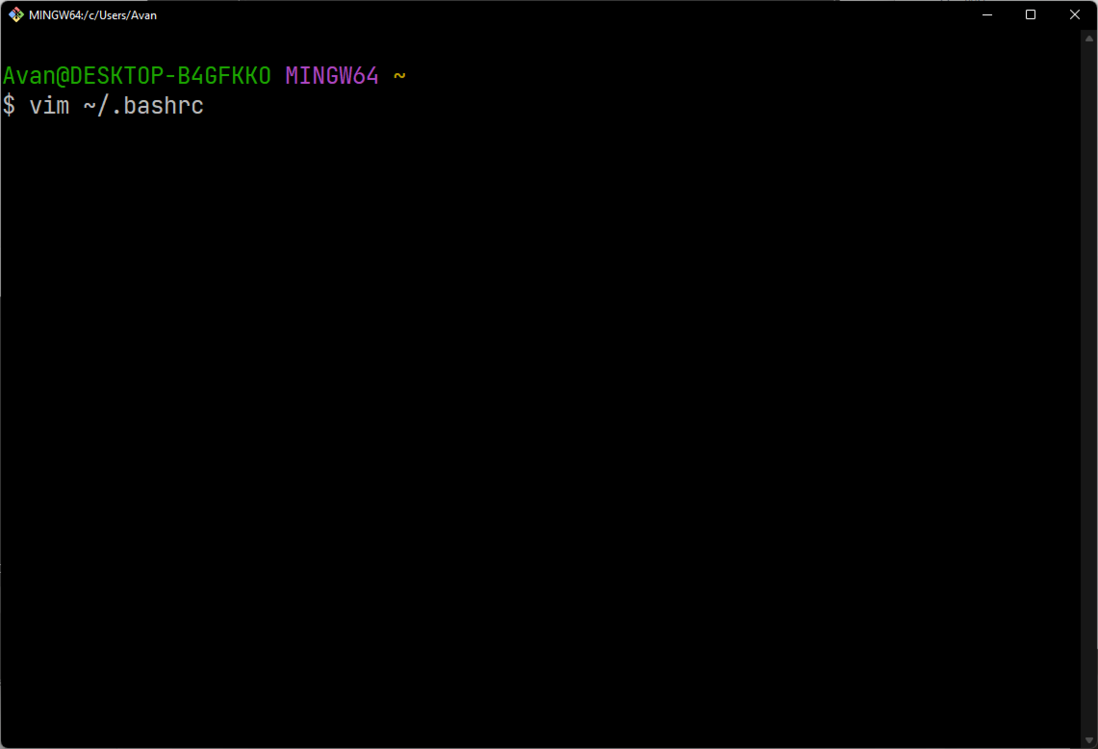
fi若安装 Git Bash 时,完全按照上文说明,则在用户根目录下,有一个 .bashrc 文件,否则请自行创建。
如果你跟我一样,决定默认使用 zsh。而不进入 bash。可以在
.bashrc加上下面代码。
2
3
exec zsh
fi
在终端输入下面指令。进入 zsh
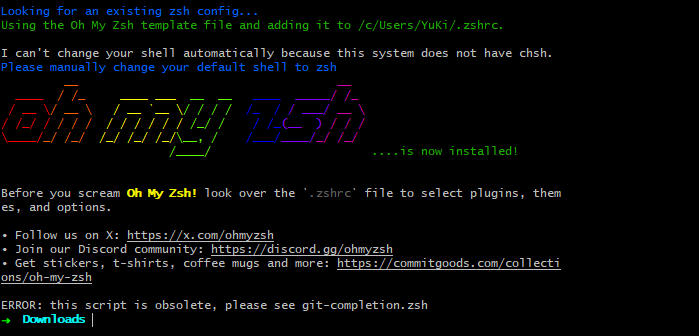
安装 oh-my-zsh
按照上面的步骤,我们的 Git Bash 已经和 Unix Zsh Shell 没什么区别了,接下来直接执行 oh-my-zsh 安装脚本即可:
1 | sh -c "$(curl -fsSL https://raw.githubusercontent.com/ohmyzsh/ohmyzsh/master/tools/install.sh)" |
使用一些默认插件
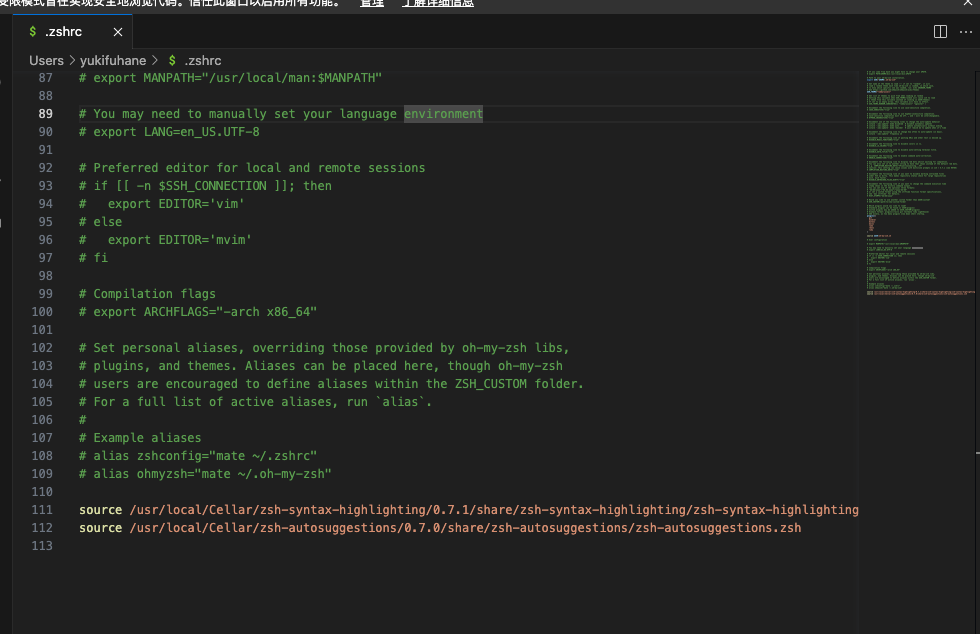
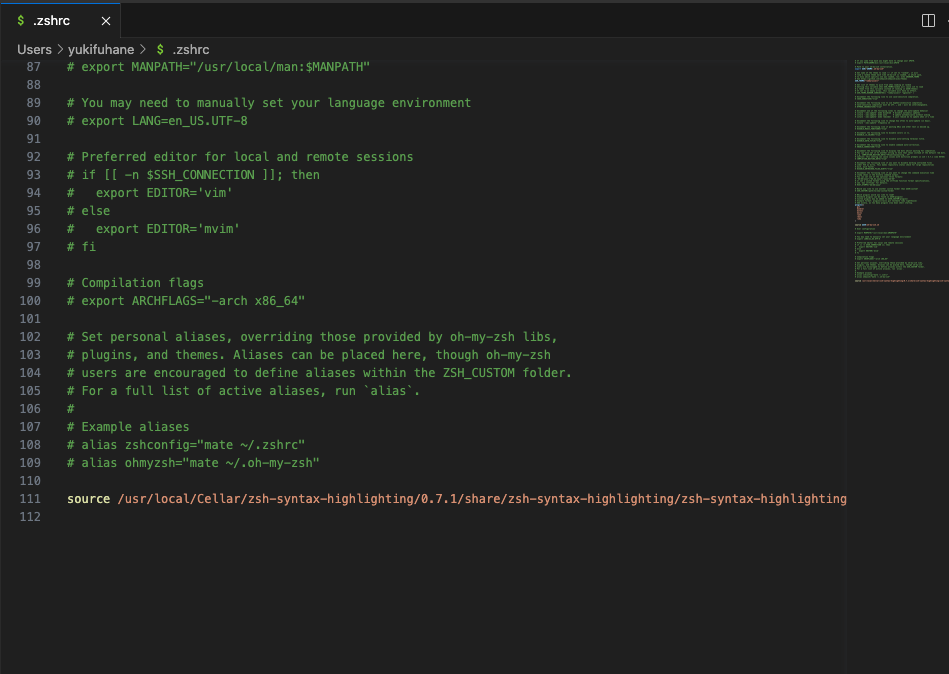
编辑 ~/.zshrc ,如果没有则会自动创建。
1 | vim ~/.zshrc |
上面的 vim 如果不会操作,你可以使用 code 在你的用户根目录打开 .zshrc 文件编辑是一样的效果。但是你都用 zsh 了我相信你都是会用 vim 的。
1 | plugins=( |
上面的是写官方的插件,如果你需要使用其他插件只需要安装好后,回车换行添加尚对应插件名即可。
配置主题
同样是在 ~/.zshrc 文件中配置,添加下面代码
1 | ZSH_THEME="robbyrussell" |
如果你想要使用其他主题,可以在这里查看对应的名字替换即可 https://github.com/ohmyzsh/ohmyzsh/wiki/Themes
如果你想每次使用都有新的体验,可以设置为随机主题
1 | ZSH_THEME="random" |
或者你想在指定的几个主题中随机,那么可以加上下面代码
1 | ZSH_THEME_RANDOM_CANDIDATES=( |
如果不想看到某个特别讨厌的主题,可以忽略它
1 | ZSH_THEME_RANDOM_IGNORED=( |
注意!!!
上面所有关于.zshrc的操作,修改都不会立即生效。你可以退出重新进入终端即可生效,或者执行source ~/.zshrc让他立刻生效。
配置完后的大概效果是这样
安装插件
安装如下几个插件,提高开发效率,详细安装方法,请点击链接进入页面查看。
zsh-autosuggestions
提示:如果自动提示插件遇到光标闪动之类的奇怪问题,这可能是 v0.7.0 引起的问题,切换到 v0.6.4 版本即可。
2
git checkout tags/v0.6.4 -b v0.6.4-branchWindows Terminal
强烈建议安装!
Windows Terminal 是微软官方出品的新一代终端集成工具,安装之后,可以直接以 Tab 页的形式管理 CMD、PowerShell、Git Bash等。其美观性和功能性,都远远胜出 Windows 内置的 CMD 和 PowerShell。直接从应用商店安装即可,以后更新更方便。
安装powerlevel10k主题
1 | # 进入主题文件夹 |
如果你想重新配置可以输入
安装一些实用的插件
语法高亮
zsh-syntax-highlighting 他可以高亮你的代码提示,让你更直观的知道你的命令是否有输入错误
安装
1 | # 进入插件文件夹 |
自动补全/提示
zsh-users/zsh-autosuggestions 他可以在你历史指令中找到与你当前输入指令匹配的记录,并高亮显示,如果想直接使用,可以直接通过 右方向键 补全。
安装
1 | git clone https://github.com/zsh-users/zsh-autosuggestions ${ZSH_CUSTOM:-~/.oh-my-zsh/custom}/plugins/zsh-autosuggestions |
在 plugins 中添加
1 | plugins=( |
还有一些实用默认插件
- z —— 快速跳转路径
- sudo —— 按两次 ESC 快速添加 sudo 前缀
Mac安装omyzsh
Homebrew
Homebrew 是一个安装包管理的工具,在 Mac 上面很好用,有了这个可以十分方便的对软件进行安装卸载等操作。安装方式如官网:
1 | /bin/bash -c "$(curl -fsSL https://raw.githubusercontent.com/Homebrew/install/HEAD/install.sh)" |
更换为清华源
更换brew.git
2
git remote set-url origin https://mirrors.tuna.tsinghua.edu.cn/git/homebrew/brew.git更换核心软件仓库(homebrew-core.git)
2
git remote set-url origin https://mirrors.tuna.tsinghua.edu.cn/git/homebrew/homebrew-core.git更换Home Bottles源
2
3
4
5
6
echo 'export HOMEBREW_BOTTLE_DOMAIN=https://mirrors.tuna.tsinghua.edu.cn/homebrew-bottles' >> ~/.bash_profile
source ~/.bash_profile
临时更换:
export HOMEBREW_BOTTLE_DOMAIN=https://mirrors.tuna.tsinghua.edu.cn/homebrew-bottles更换为中科大源
更换brew.git
2
git remote set-url origin https://mirrors.ustc.edu.cn/brew.git更换核心软件仓库(homebrew-core.git)
2
git remote set-url origin https://mirrors.ustc.edu.cn/homebrew-core.git更换Home cask软件仓库
2
git remote set-url origin https://mirrors.ustc.edu.cn/homebrew-cask.git更换Home Bottles源
2
3
4
5
6
echo 'export HOMEBREW_BOTTLE_DOMAIN=https://mirrors.ustc.edu.cn/homebrew-bottles' >> ~/.bash_profile
source ~/.bash_profile
临时更换:
export HOMEBREW_BOTTLE_DOMAIN=https://mirrors.ustc.edu.cn/homebrew-bottles重置默认源
重置brew.git
2
git remote set-url origin https://github.com/Homebrew/brew.git重置核心软件仓库
2
git remote set-url origin https://github.com/Homebrew/homebrew-core.git重置Homebrew cask软件仓库
2
git remote set-url origin https://github.com/Homebrew/homebrew-cask重置Homebrew Bottles源
注释掉bash配置文件里的有关Homebrew Bottles即可恢复官方源。 重启bash或让bash重读配置文件。
Oh-my-zsh
这是一个对于 zsh 的美化工具,可以安装很多插件来优化 zsh。
omyzsh插件
zsh-autosuggestions
这是一个代码补全的插件,使用效果如下:


灰色的区域就是这个插件提示的内容。
使用 Homebrew 安装 zsh-autosuggestions
1 | brew install zsh-autosuggestions |
zsh-syntax-highlighting


使用 Homebrew 安装
1 | brew install zsh-syntax-highlighting |
Arch Linux
安装zsh
1 | sudo pacman -S zsh |
Shell
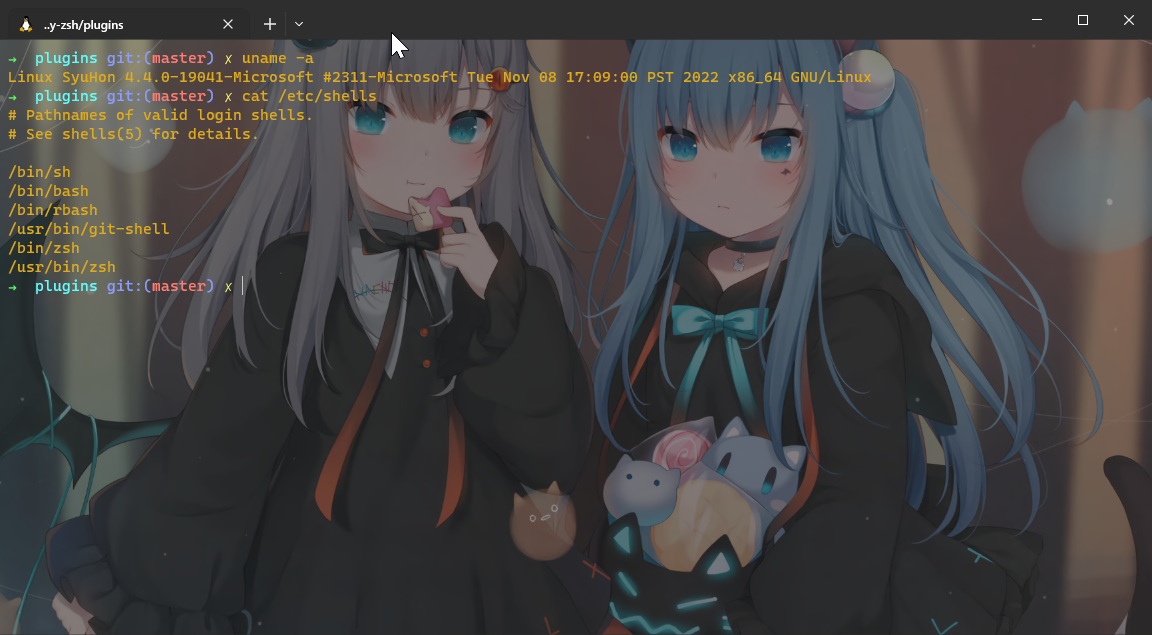
查看所有shell
1 | cat /etc/shells |
查看当前使用shell
1 | echo $SHELL |

查看系统用户默认shell
1 | cat /etc/passwd | grep sh |

1 | echo $0 |

修改默认shell
1 | chsh -s /bin/zsh |
安装oh my zsh
1 | url: |
自动加载oh my zsh(一般zshrc一般里面有),没有自己添加


安装高亮显示插件(zsh-syntax-highlighting)
1 | cd $HOME/.oh-my-zsh/plugins |

安装自动补全插件(zsh-autosuggestions)
1 | cd $HOME/.oh-my-zsh/plugins |